Pages


Showing posts with label Tutorial. Show all posts

Monday, August 12, 2013

Bag in a Box for Baby Tutorial

Good Morning!

It seems like there is a baby explosion going on all around me. New grandkids, nieces, nephews and friends... there are going to be babies busting out all over in the next few months. So I decided I had better get ahead of the game and start making a few little somethings. I am starting with this very versatile gift Bag in a Box that I found a few years ago on Splitcoaststampers. If you have a hard time following my directions just click on over there and see the original.

Okay, here goes...

The bottom is a 4.5" x 4.5" piece of cardstock that is scored at 1" on all sides.
Clip up to the score line on each corner as shown.


Put sticky strip on each tab and fold in to form the box.


Remove the tape from the bottom, lay the box along the edge, I started in the middle of the box 
so the seam would be centered in the back.
continue to line up the bottom of the paper with the bottom edge
of the box.
When you get to the end, remove the tape from the side of the designer paper and attach to the opposite side.


Here is what a completed one looks like looking in from the top.

For the scalloped edge border, I  used the Ribbons and Rosettes cartridge cut at 1"


I sponged the edges first...


then added two rows of sticky strip to the back.
I attached to the bottom edge the same way as the designer paper.


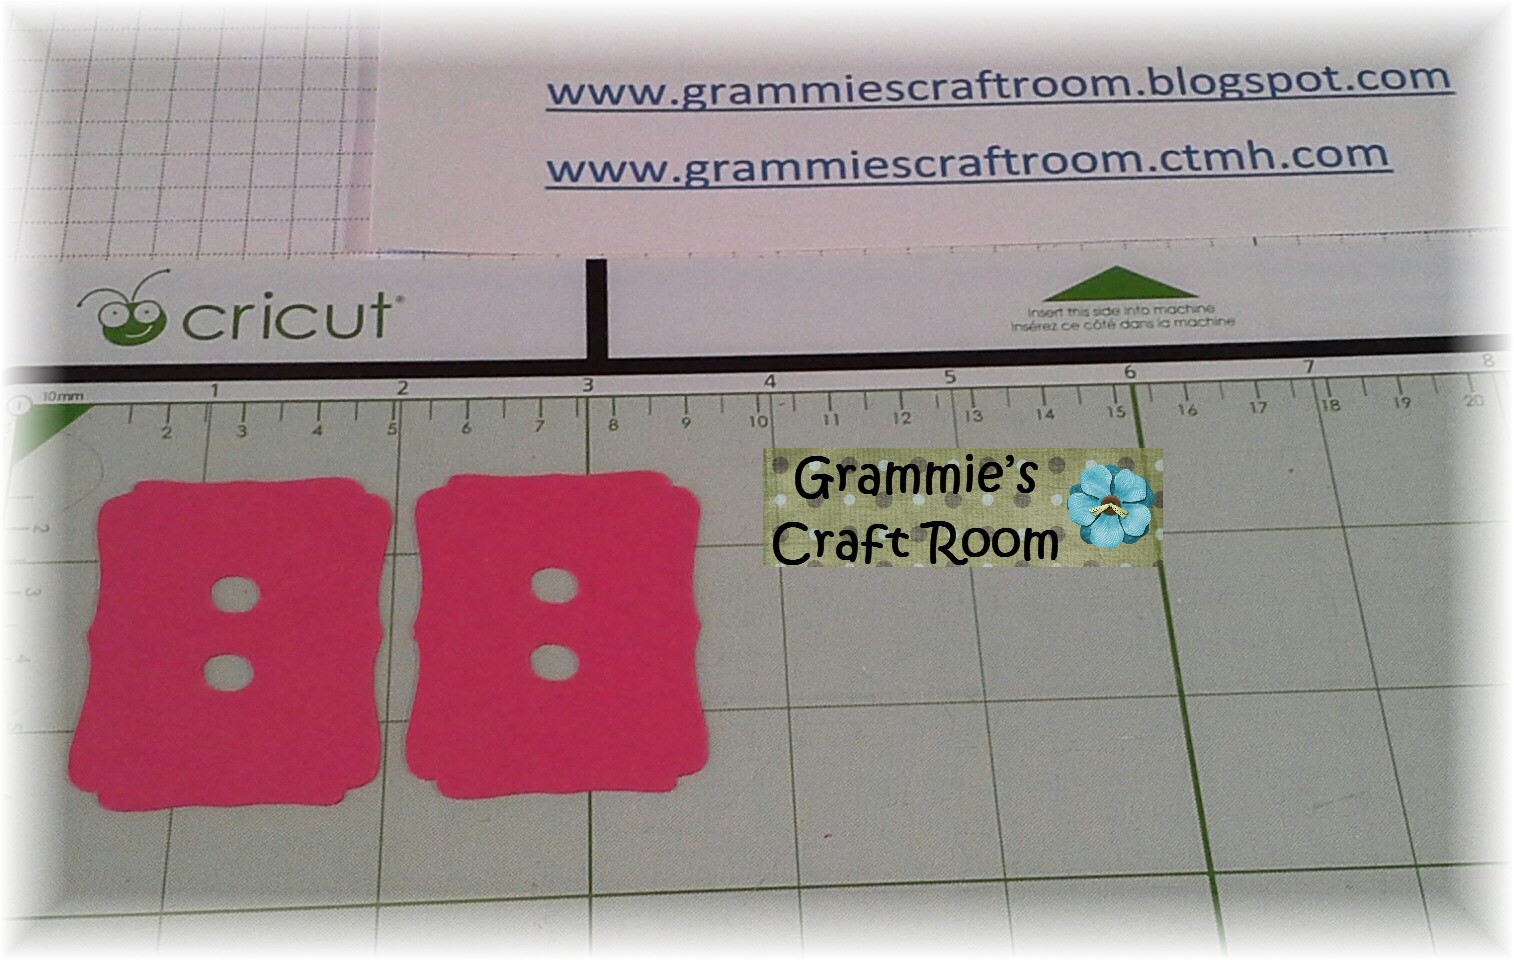
For the tabs on the top, I used Artiste and put two small circles in the middle.

Important... DO NOT weld  them together, just group them together.


Score each tab down the middle. Use very strong adhesive
 to attach the tabs to the front and back of the bag.


And here is the finished project...


The sentiments are from the new Artbooking Cartridge from Close To My Heart.


I'm afraid you will get tired of me saying this, but this Artbooking cartridge is fast becoming a favorite!
It is so versatile, great for all kinds of paper crafting ideas.

Don't forget the specials for the month of August from
Close To My Heart

If you would like to see the new CTMH Idea Book for the fall/winter please check it out


We have a great special for the month of August!
 With every $50.00 order, you will get the 
August Stamp of the Month for
FREE!!!!


Learn more HERE!

And with a $75.00 order I will send you an ink pad of your choice, FREE!!

If you would like to receive the new Idea Book, just leave me a comment with a way to reach you.


As always, thanks for stopping by :)


Wednesday, July 31, 2013

Tutorial for Tissue Box Cover with Cricut Craft Room

Good Morning!

Today's project is a rerun... I have made many of theses before, but this time I created a cut file for the Cricut Craft Room. I will share it with anyone who asks :)

First I am showing you the screen shots for the files, then there will be some photos of the assembly.


The 2 pieces that make the box


The box top


Decorative paper for the sides


Decorative paper for the top

Now for the assembly...


Sides for the box


Add adhesive to the end that is scored at 1/2 inch
Attach to the second side piece on the unscored end


Add adhesive to the remaining 1/2 inch end and complete the box


Score the box top at one inch on all sides


Fold tabs in and glue to the inside, I found that this comes out
better if I use a strong adhesive like the red tape.


Glue the top to the bottom 


And decorate ... 

That's all there is to it!
I used Close To My Heart Chantilly Papers - X7163B
The flowers and ribbons are from my 'collection'
The navy blue pieces on the bottom corner were cut with a punch.

The CCR file uses Cricut Craft Room Basic - comes free with Craft Room
and Close To My Heart Artiste cartridge.
I cut it out using the Cricut Expression 2


Today is the last day for this months Special Offer!

when you place a $50.00 order (before tax and shipping)
I will send you the ink pad of your choice 
for
FREE!!

 You can place your order 


While you are there, check out the Close To My Heart specials...

The July Stamp of the Month for $5.00 with your $50.00 order
S1307A

And this beautiful Workshop on the Go  Canvas Art Kit - G1062
for
 $19.95
that's 50% off the regular price of $39.95


If you would like the Cricut Craft Room cut file, please leave a comment and a way for me to contact you and I will email it right to you.

Don't forget... 
Tomorrow the new new Close To My Heart 
Autumn/Winter Idea Book comes out!

There are so many wonderful new products I can''t wait to start showing you!
I hope you will look for them in the weeks ahead,

As always, thanks for stopping by :)


post signature

Monday, July 29, 2013

Treat Holder Tutorial Using Cricut Craft Room and Expression

This mornings project is an easy treat holder that I made with a cut file for CCR that uses the free images that come with the Cricut Craft Room.


I have given the card stock size if you would rather cut it with using the Cricut and the scoring lines.


This one was cut by hand, with the corners rounded


This one was cut with the CCR file.

The papers for both are Close To My Heart - Chantilly X7163B
and the stamp is from a set that came with my Consultant Kit

The only thing missing for this project is the treats.... Not found in my house unless the grand kids are here :)


Now for the 
Special Offer !!

From today until July 31, 2013

when you place a $50.00 order (before tax and shipping)
I will send you the ink pad of your choice 
for
FREE!!

 You can place your order 


While you are there, check out the Close To My Heart specials...

The July Stamp of the Month for $5.00 with your $50.00 order
S1307A

And this beautiful Workshop on the Go  Canvas Art Kit - G1062
for
 $19.95
that's 50% off the regular price of $39.95


Please leave a comment if you have any questions about my tutorial for this easy Treat Holder.

As always, thanks for stopping by :)


post signature

Friday, July 26, 2013

Post It Holder Tutorial

My project for today is one that gets done several times a year in my craft room. I love this for lots of different gift giving occasions. This one is for a birthday. I will be doing some soon to get a jump start in the holidays...

For now, here is the how-to..

First, start with a piece of card stock 3.25 inches x 11 inches

Score as shown below:


Fold on the score lines:


Cut as shown for the pen opening:


Fold and add adhesive:


I wanted to use this pretty flourish stamp from Close To My Heart but didn't have an acrylic block big enough. I had seen, somewhere in my web land travels, a suggestion to use a Cuttlebug embossing plate... well, it worked!


Here are a few of my trial and errors:


The one on the left, that is similar to my final project, shows how I stamped the sentiment on the wrong end...

And the finished Post It Holder...


Stamps sets used:
Close To My Heart C1503 - The Bests Things
Close To My Heart C1538 - Girls Rock
Inks:
Close To My Heart - Sky
Close To My Heart - Gypsy

I don't have any of the small pens that this needs ( shopping trip to Staples on my future ! ) so I used a regular pen...


Now for the 
Special Offer !!

From today until July 31, 2013

when you place a $50.00 order (before tax and shipping)
I will send you the ink pad of your choice 
for
FREE!!

 You can place your order 


While you are there, check out the Close To My Heart specials...

The July Stamp of the Month for $5.00 with your $50.00 order
S1307A

And this beautiful Workshop on the Go  Canvas Art Kit - G1062
for
 $19.95
that's 50% off the regular price of $39.95


Please leave a comment if you have any questions about my tutorial for this easy Post It Note Holder.

As always, thanks for stopping by :)


post signature