Pages


Showing posts with label Cricut Expression. Show all posts

Thursday, August 29, 2013

Side Step Birthday Card

I don't know why, but this type of card has always intimidated me. But now, I have mastered it! It really isn't hard and makes a great impression on the person who is receiving it.
.
I put together to ideas that I found - yup- on Pinterest! They can be found HERE and HERE.

The pitcher and flowers are from Country Life cut at 3 inches and the Sentiment banner is from CTMH Art Philosophy cut at .75 inches. The sentiment is CTMH -  D1187 - For Every Occasion and the paper is Chantilly - X7163B


I am definitely going to make more of this card !

If you would like to see the new CTMH Idea Book for the fall/winter please check it out


We have a great special for the month of August!
 With every $50.00 order, you will get the 
August Stamp of the Month for
FREE!!!!


Learn more HERE!

And with a $75.00 order I will send you an ink pad of your choice, FREE!!

If you would like to receive the new Idea Book, just leave me a comment with a way to reach you.


Thursday, August 15, 2013

Butterfly Birthday Card with Cricut Expression

Today's project is a set of birthday cards that I am going to add to the card box at work. I found my inspiration on Pinterest HERE.


All the cuts are from the Close To My Heart Art Philosophy cartridge. I used a Stampin Up stamp for the background on the card base and the colored butterflies. For the butterflies I used Versa Mark ink and Iridescent Embossing powder. I used a twine that has a silver thread (from Paper Wishes) for the body and antennae. The birthday sentiment is from Paper Trey Ink.

I absolutely love how great this card is in all the different colors.

Don't forget the August special from Close To My Heart...

If you would like to see the new CTMH Idea Book for the fall/winter please check it out


We have a great special for the month of August!
 With every $50.00 order, you will get the 
August Stamp of the Month for
FREE!!!!


Learn more HERE!

And with a $75.00 order I will send you an ink pad of your choice, FREE!!

If you would like to receive the new Idea Book, just leave me a comment with a way to reach you.

As always, thanks for stopping by :)


Monday, August 12, 2013

Bag in a Box for Baby Tutorial

Good Morning!

It seems like there is a baby explosion going on all around me. New grandkids, nieces, nephews and friends... there are going to be babies busting out all over in the next few months. So I decided I had better get ahead of the game and start making a few little somethings. I am starting with this very versatile gift Bag in a Box that I found a few years ago on Splitcoaststampers. If you have a hard time following my directions just click on over there and see the original.

Okay, here goes...

The bottom is a 4.5" x 4.5" piece of cardstock that is scored at 1" on all sides.
Clip up to the score line on each corner as shown.


Put sticky strip on each tab and fold in to form the box.


Remove the tape from the bottom, lay the box along the edge, I started in the middle of the box 
so the seam would be centered in the back.
continue to line up the bottom of the paper with the bottom edge
of the box.
When you get to the end, remove the tape from the side of the designer paper and attach to the opposite side.


Here is what a completed one looks like looking in from the top.

For the scalloped edge border, I  used the Ribbons and Rosettes cartridge cut at 1"


I sponged the edges first...


then added two rows of sticky strip to the back.
I attached to the bottom edge the same way as the designer paper.


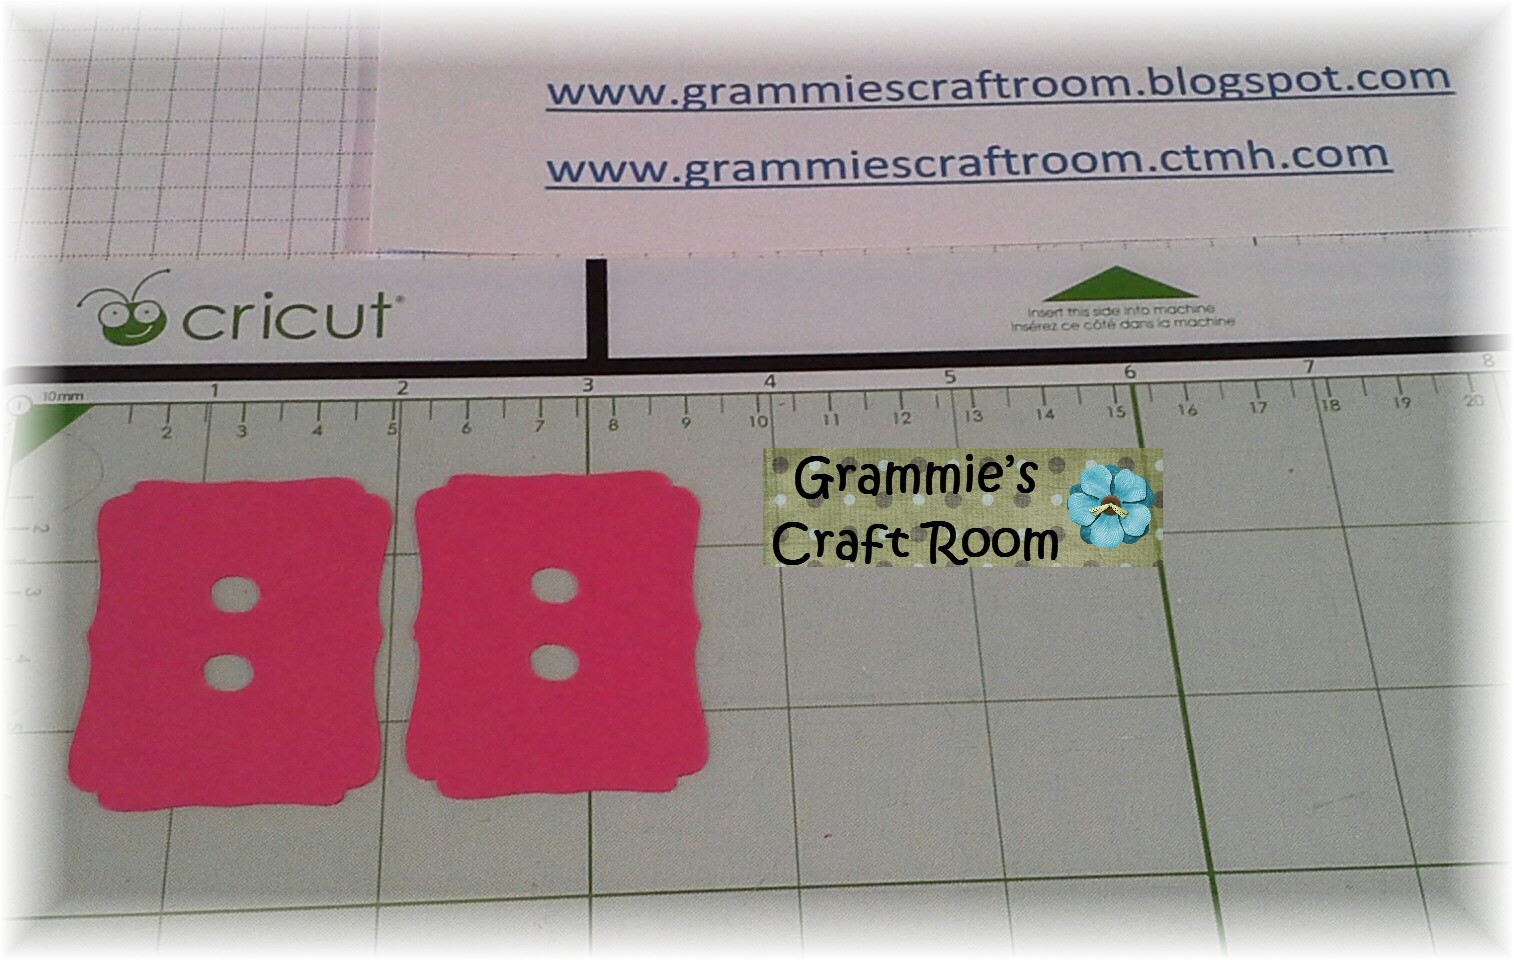
For the tabs on the top, I used Artiste and put two small circles in the middle.

Important... DO NOT weld  them together, just group them together.


Score each tab down the middle. Use very strong adhesive
 to attach the tabs to the front and back of the bag.


And here is the finished project...


The sentiments are from the new Artbooking Cartridge from Close To My Heart.


I'm afraid you will get tired of me saying this, but this Artbooking cartridge is fast becoming a favorite!
It is so versatile, great for all kinds of paper crafting ideas.

Don't forget the specials for the month of August from
Close To My Heart

If you would like to see the new CTMH Idea Book for the fall/winter please check it out


We have a great special for the month of August!
 With every $50.00 order, you will get the 
August Stamp of the Month for
FREE!!!!


Learn more HERE!

And with a $75.00 order I will send you an ink pad of your choice, FREE!!

If you would like to receive the new Idea Book, just leave me a comment with a way to reach you.


As always, thanks for stopping by :)


Wednesday, August 7, 2013

Summer Mini Album From Artbooking

Good Morning!

I have to say , I have never been a scrapbooker... I am a cardmaker/papercrafter. But this new cartridge - Close To My Heart Artbooking - Z1906 may change that! It makes the whole process so easy I can do it!

Here is my very first Mini Album, found on pages 52 - 53 of the handbook. All of the various embellishments are from this cartridge and the stamp sets that come with the bundle. I cut everything out at the size shown in the book and it went together great!


I put a pen along the spine before I tied the twine. It gives the right amount of space for the book to open easily.
Here is the finished book. I probably will be adding more bling and 'stuff' as I look at.

If you would like to see the new CTMH Idea Book for the fall/winter please check it out


We have a great special for the month of August!
 With every $50.00 order, you will get the 
August Stamp of the Month for
FREE!!!!


Learn more HERE!

And with a $50.00 order I will send you an ink pad of your choice, FREE!!

If you would like to receive the new Idea Book, just leave me a comment with a way to reach you.


So if you are like me and think these Mini Albums are too much work and thought, I would say to give this cartridge a try!

As always, thanks for stopping by :)


Monday, August 5, 2013

Cricut Artiste Birthtday Card


Good Monday morning!

After a very busy week of moving my craft room, going to the local fair with my daughters and grand kids and a family get together, I have a quick and easy card for you.

This Birthday Card uses the Close To My Heart stamp sets
 D1529 and D1475
With the Close To My Heart Cricut Cartridge Artiste.


I have a fun Mini Album using the new  Artbooking cartridge from Close To My Hear to show you tomorrow, so I hope you will come by.

If you would like to see the new CTMH Idea Book for the fall/winter please check it out


We have a great special for the month of August!
 With every $50.00 order, you will get the 
August Stamp of the Month for
FREE!!!!

Learn more HERE!

If you would like to receive the new Idea Book, just leave me a comment with a way to reach you.

As always, thanks for stopping by :)


Monday, July 29, 2013

Treat Holder Tutorial Using Cricut Craft Room and Expression

This mornings project is an easy treat holder that I made with a cut file for CCR that uses the free images that come with the Cricut Craft Room.


I have given the card stock size if you would rather cut it with using the Cricut and the scoring lines.


This one was cut by hand, with the corners rounded


This one was cut with the CCR file.

The papers for both are Close To My Heart - Chantilly X7163B
and the stamp is from a set that came with my Consultant Kit

The only thing missing for this project is the treats.... Not found in my house unless the grand kids are here :)


Now for the 
Special Offer !!

From today until July 31, 2013

when you place a $50.00 order (before tax and shipping)
I will send you the ink pad of your choice 
for
FREE!!

 You can place your order 


While you are there, check out the Close To My Heart specials...

The July Stamp of the Month for $5.00 with your $50.00 order
S1307A

And this beautiful Workshop on the Go  Canvas Art Kit - G1062
for
 $19.95
that's 50% off the regular price of $39.95


Please leave a comment if you have any questions about my tutorial for this easy Treat Holder.

As always, thanks for stopping by :)


post signature