Pages


Thursday, July 12, 2012

Lazy Days of Summer

Hello, I'm here to share a card I made for this weeks Lazy Days of Summer challenge at SweetSassyDivaMy favorite summer pass time (other than crafting ! ) is reading. It is my big guilty pleasure that I can only really enjoy during my summer vacation. For this card I pushed my limits with the colors and the size. I don't usually pull out bright, bold color combo's and this card is a 5x7 and I am pretty much an A2 size gal.

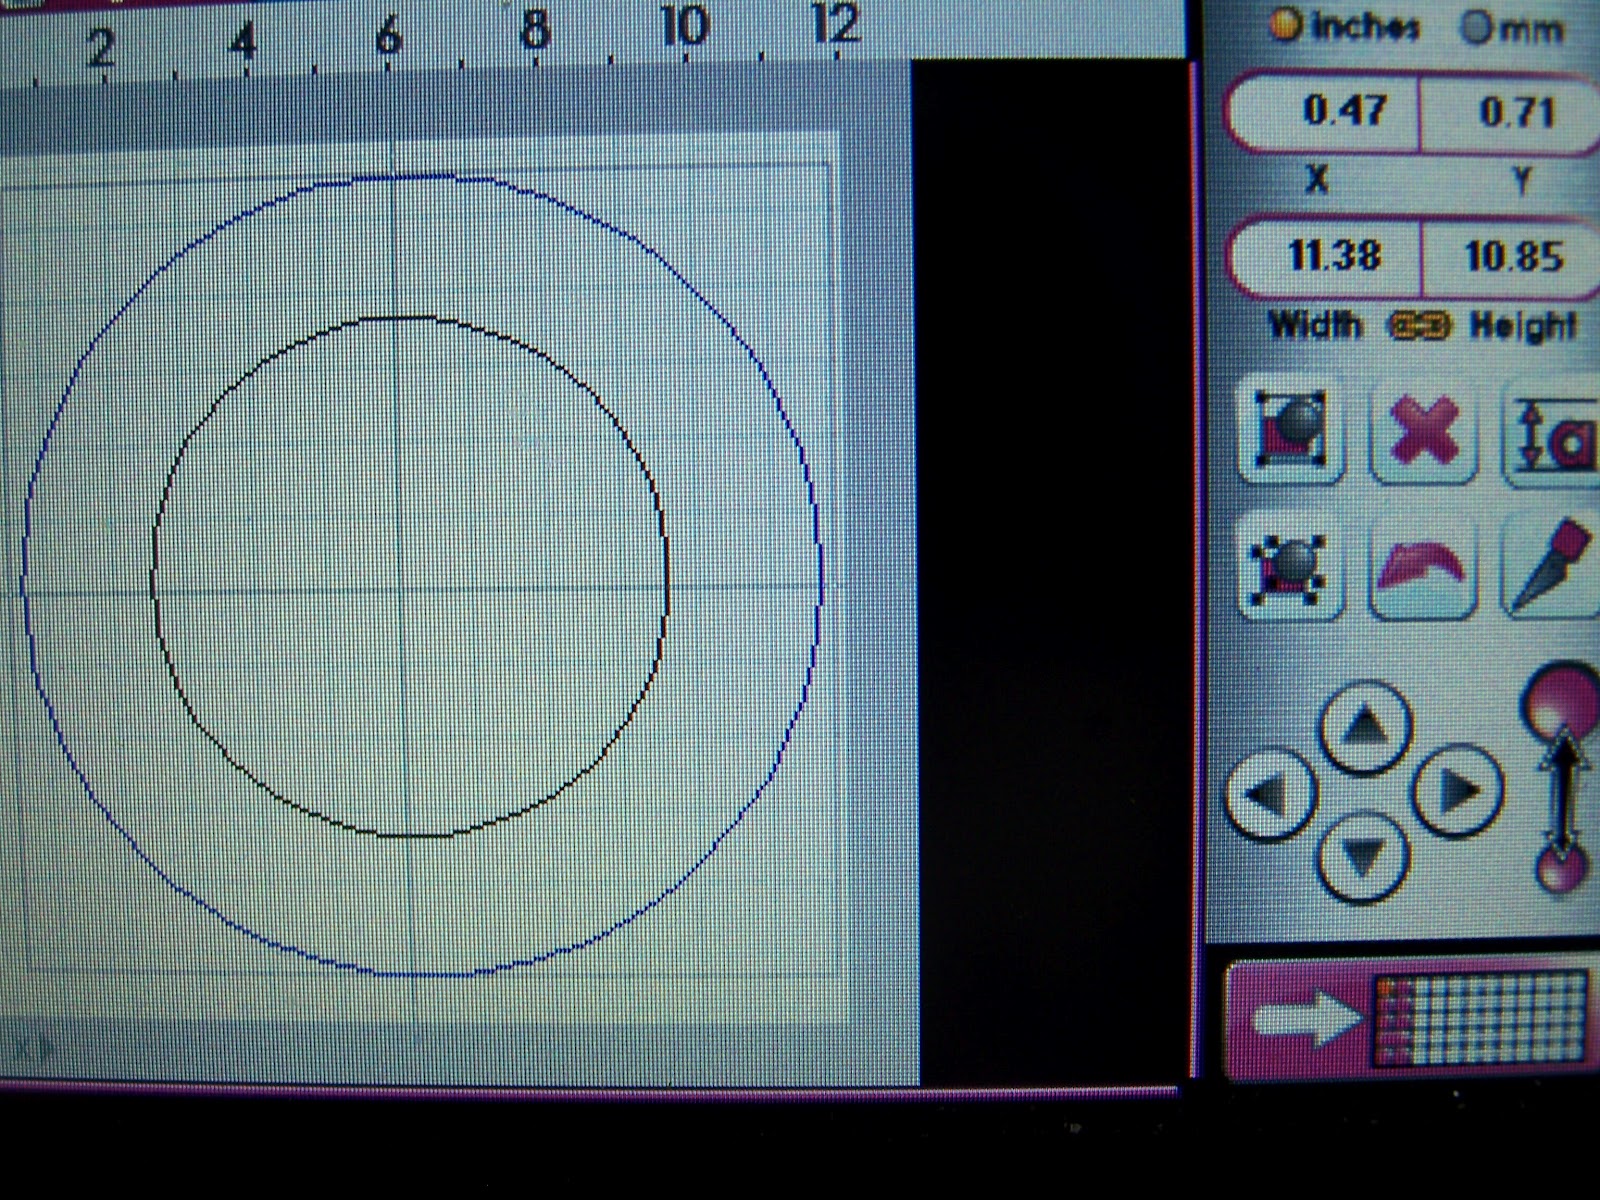
The image is from Kate's ABC's cut at 3.75 inches. I set up all the layers on my Gypsy.


As usual, I put 2 of each of the smaller cuts on my mat as a precaution ... you never know when something isn't going to cut out just right :)
For the layer that cuts the hat, shoes,  pocket etc, I used the hide contour function to get the pieces in the color I preferred.


The sentiment is computer made then punched out with a 2" punch, backed by a scalloped circle punch. The leaves are from SU bird punch and the butterflies are from a SU Sizzlet. 

I hope you are enjoying all the great Lazy Days of Summer projects all the DT shows you this week !


Friday, July 6, 2012

The Big Bang

Hello everyone, I'm sharing a wreath I made for the Big Bang Challenge this week at SweeetSassyDiva.
I found my inspiration here on Pinterest... my newest addiction ! LOL

With the help of my Gypsy, it was a very quick and easy project.

I cut the stars out in 2 sizes - 4 and 5 inches from Plantin Schoolbook in four different papers from Hobby Lobby.
I then dropped the sizes down to 3.9 and 4.9 inches and cut them out again in white card stock. The patterned paper was too thin to use alone. 


I cut out a circle background to attach the stars to in white card stock.


The smaller stars were glued down flat to the circle then the larger ones where folded along the score lines and glued on top. I embellished with varies ribbons, buttons, and rhinestones from my 'collection.


I can't believe it, but this is the very first Fourth of July decoration I have ever made!! I have to say that I really am happy with it and hope it doesn't fade too much so I can keep it for next year.

As always, thanks for stopping by :)


.


Tuesday, July 3, 2012

National Candy Month

To celebrate National Candy Month, this weeks challenge at SweetSassyDiva is to make anything that involves something sweet.
Well, my youngest daughter has developed quite a passion for cake decorating. She bought the Cricut Cake Mini about a month ago and has been learning how to cut out fondant. When she made this cake for a coworker, I knew I wanted to use it for this challenge.


She started by rolling the fondant out on a pastry mat to a thickness of about 1/8th of an inch and cutting it to a rectangle to fit on the 12" x 6" mat. The speed is low the pressure is low - medium. The hair is from Everyday Paperdolls, the rest of the cowgirl is from Paper Doll Dressup, all layers cut at 4". The cake is a 2 layer, 10" frosted with white butter cream and piped with yellow butter cream. This is only her second attempt using the Cricut, but I see lots more cakes in her ( our ) future!

I was impressed with how easily she found the fondant to work with and the Cricut cut it beautifully. If you have ever thought about trying your hand at this yummy pastime I would say wholeheartedly - Go For It!!


Tuesday, May 15, 2012

3 or More

3 or More Cartridges! How fun is that!! I can't believe that I am saying this, but when I went to start this project I had a hard time finding images from 3 different cartridges that I thought I could put together. Sounds hard to believe, right?


 I started with a card base from Wild Card cut at 5.25". This cut includes the spine piece, which I wanted in a second color so I set it up on the Gypsy so I could hide the parts I didn't want. The doily is from CTMH Art Philosophy cut at 3.35" and the butterfly is from Paper Trimmings cut at 2". I put 3 self adhesive rhinestones down the center of the butterfly and 3 in the upper corner. The sentiment - from CTMH - was stamped on white and centered in the opening from the inside. Some where in blog land I saw a great tutorial on how to stamp inside a cut out like this, but of coarse when I actually wanted to do .... couldn't find it.

As little side note... The doily was cut from the textured cardstock that Walmart sells and It cut out great. I adjusted the settings so the blade was at 6 and the pressure was on high. The mat I used was still pretty sticky so I didn't have to worry about the paper sliding around. I think I am going to experiment and see how small I get it to cut and still look good. I will let you know.

I bet that after I finish this post, I will have a revelation of 3 cart combos I could have done... oh well, I'll save them for another time!


Friday, May 11, 2012

It's All About Mom

How appropriate to have this weeks theme for the Design Team at SweetSassyDiva to be All About Mom.
It has taken this challenge for me to make my first Mother's Day card since I lost my mom over 6 years ago. I figured it was about time to move past the wall I had put up.


I took the design for this card from the March 2012 issue of Cardmaker magazine. I started with an A2 card base of pink. The white layer is 4" x 5.25" with a piece of CTMH  designer paper - 3.75" x 1" and green cardstock  3.75" x 4" layered on top. I put black stitching lines around the edges and covered the joint of the 2 papers with white ribbon.

The white shape that I stamped on is from CTMH Art Philosophy cut at 3". The stamps are also from CTMH. The edges where inked in pink.
The 2 flowers are from Art Philosophy and are cut at 1", 1.25" and 1.5" I inked the edges of the rolled flowers and held together with hot glue. Next time I would cut a few more of the rolled ones at a larger size, but I really like how the small ones came out and can see I will be using these more often for fillers. They go together very easily. I arranged the flowers over the stamped flowers - which I colored the centers and the leaves and left the rest uncolored. The sentiment is a CTMH stamp. I added a white bow in the corner and stamped a couple of the flowers on the inside.

I know my  mother loved everything I ever made for her and she would have love this one too!

Happy Mother's Day, Mom  xoxo

Tuesday, May 8, 2012

Fun Birthday Card for Tori

As my granddaughter gets older, making her birthday card is more fun and a bit more challenging. I know she loves anything with lots of sparkle so when I found this very glittery purple paper in my box and knew this was the perfect time to start using it!


The cute llama is from Birthday Bash and is cut at 3.5". The banner is also from Birthday Bash and is cut at 2". I tied some plain white hem tape around the top layer and decided it was done.

My granddaughter loved it but I'm sure the $$ inside helped too :)

As always, thanks for stopping by !

Thursday, May 3, 2012

Diamonds....

are a girls best friend! And a great accent for a card maker. This weeks challenge at SweetSassyDiva is to use our Cricut to put some diamonds on ... whatever we chose.
I honestly had no plan when I sat down at my craft table today. I opened the Cricut booklet that happened to be out on my table - Holiday Cakes - and found this great diamond border  with a top layer. I then went to my Stampin Up Color Coach and picked a random combo... Pink Pirouette, Bravo Burgundy and Sahara Sand.
I cut the diamond border at 1.14 inches, 3 times and the top layer once. I laid the ribbon on the card front then attached the borders over the top and tied a bow. I made the flower from Art Philosophy at 4.5 inches ( next time I would make it smaller). I added some  extra loops and tails of ribbon and then used my hot glue gun to attach the flower. A bit of hot glue in the center to hold the clear rhinestone and some gel gen dots and this simple card is done.


As always, thanks for stopping by :)

Sunday, April 29, 2012

CWWC Challenge #17 and DT Call

This weeks sponsor at Crafting When We Can is Tickled Pink Stamps. I chose their Mud Pie Faith image. She reminds me of my granddaughter :)


I was suppose to use this sketch...


... but I totally forgot about it when i sat down to make my card...
So when you enter, please don't forget to use your take on it :)

I am sorry to say that my time as a DT member of Crafting When We Can is ending, I am so happy that I was able to be a part of this great challenge blog. Ang and Poppet and the rest of the ladies have been so great and have been so inspiring to me. I hope you will keep checking out their bi weekly challenges and play along when you can !
Here is the info for the DT call:


DT CALL
Commitments:
* Be able to work as part of a team.
* Meet deadlines.
* Post on your fellow DT's cards, and on an assigned number of entrants projects.
* Make a creation/project for every challenge, bare in mind this is one card every two weeks.
* Join in with any blog hops or other events running during your term.
* Commit to a 3 month period.
* Have fun!

Perks:
* You will be a part of a fantastic, friendly team.
* Gain or add to your DT experience.
* Get some freebies from sponsors when offered, please note you will be required to use these images if we are given them free. 

If you are interested in entering our DT Call there are two simple steps to enter:
* Firstly enter the current sketch challenge and in your post mention the DT call.  
* Secondly when you add your creation to the linky tool below put DT after your name.  
If you wish to, you can email using the address on the sidebar with further information about yourself.  

Good luck.  

As always, thanks so much for stopping by :)

Tuesday, April 24, 2012

Thank You - Wild Card

Wow, the 'wild card' theme for this week took me a while... couldn't pin down a specific thing I wanted to do. I always need thank you's so here we are :)

So simple and easy to make that I am thinking I will make a few sets to have as quick gifts.


The flower border is from Holiday Cakes page 52 , cut at 1 inch from card stock from my stash. I added some dots and dashes with various gel pens.
The Many Thanks is from Wild Card ( had to do it, LOL ) page 42 and is cut at 5 inches from black card stock.
I made the card from Kraft card stock, sponged the edges with a brown ink and made a faux bow from white seam binding.
I am thinking these easy cards are going to need a cute box of some sort for giving as a set. Guess that will be my next project.

Monday, April 16, 2012

Hens and Chicks

For last weeks DT challenge we were asked to create any type of project using our Cricut and adding any form of hens and chicks. Being a complete country girl this is right up my alley.

All of the images on my card are from A Country Life cartridge.

As with most of my projects, I started by setting up the images and their layers on my Gypsy.

The sun and hills background and layers are cut at 3 inches


I laid out the papers and cut out.


The chickens and layers are cut at 1.75 inches.


I inked most of the edges before assembly. I made a background of light blue and tan to attach the hills to then added the chickens with dimensionals. The sentiment and butterfly stamps are from Close To My Heart.


A button, twine and some stitching lines and I called it done.
I hope you like my little taste of country life and come back to see what great projects my DT partners have for you.